|
We
|
|
|
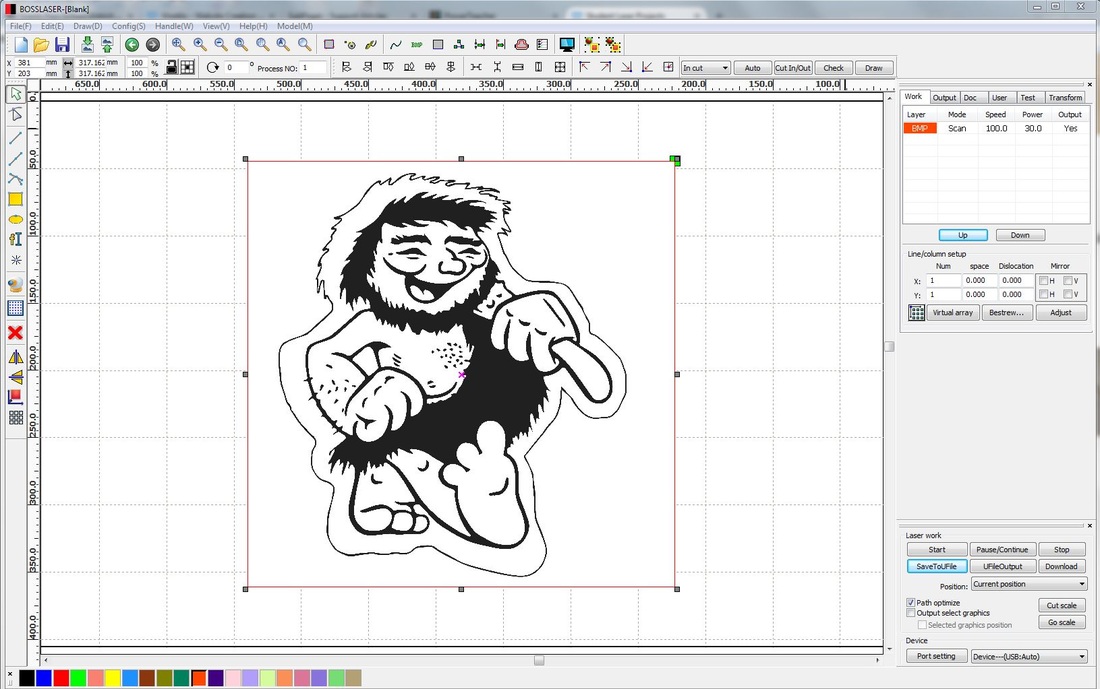
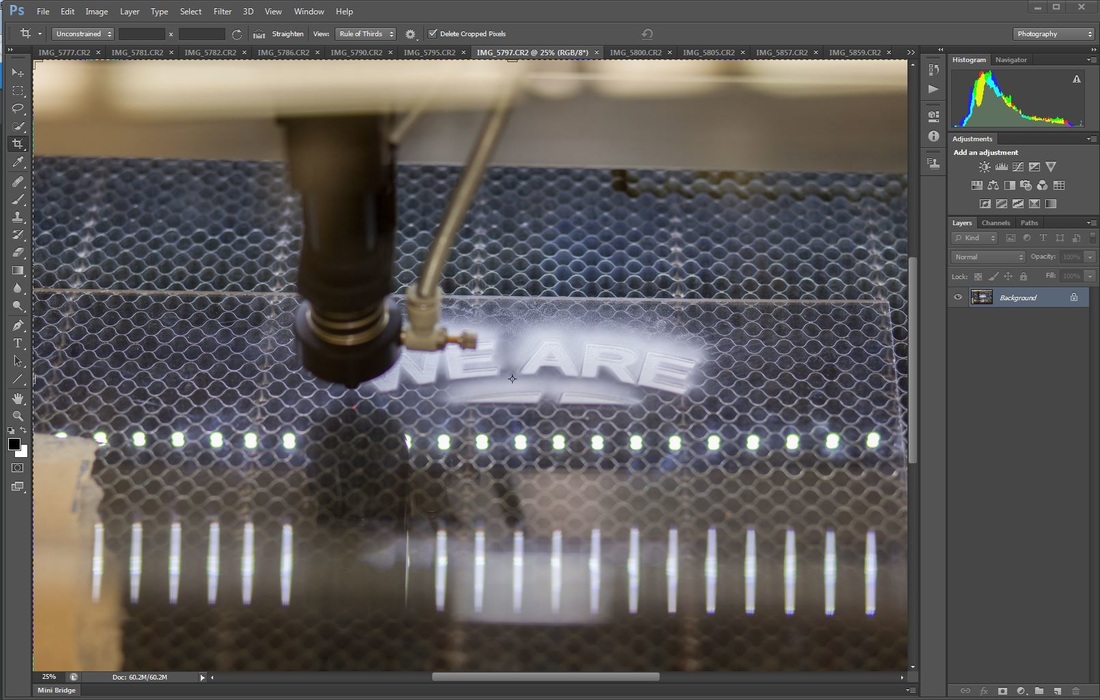
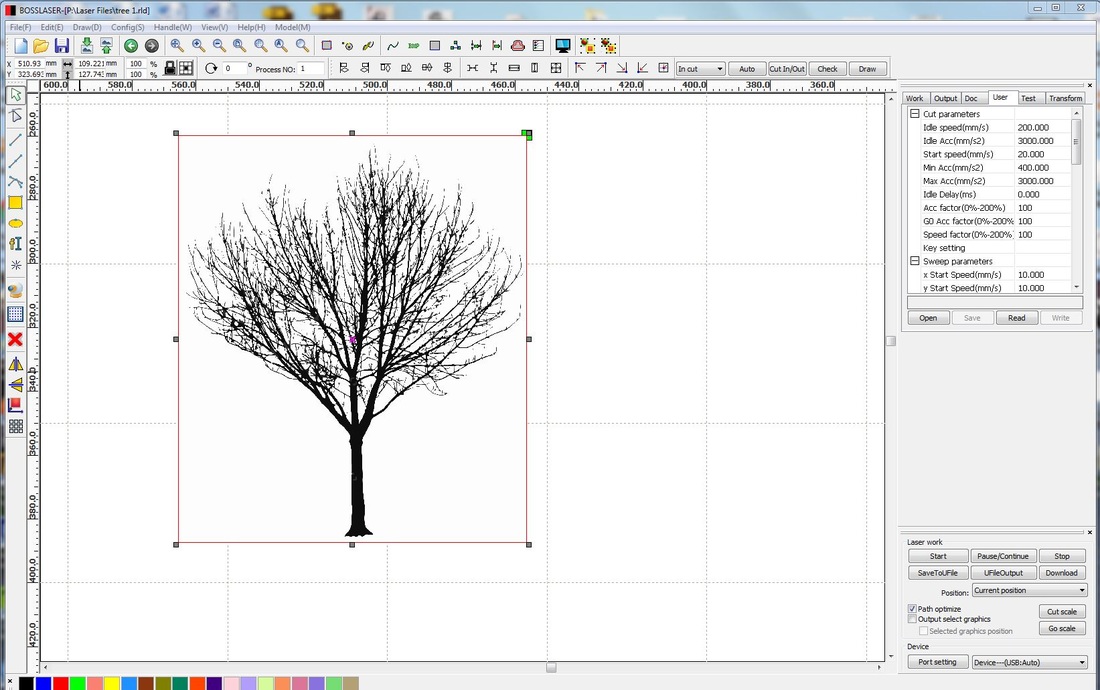
DesignThe design process involves the use of a minimum of one program, often more than that. Students complete the design and parameter setting process using RD Works (downloadable for free so students can learn it at home if they like). Many situations require the use of other programs such as Photoshop, Adobe Illustrator and Corel Draw to name a few.
|
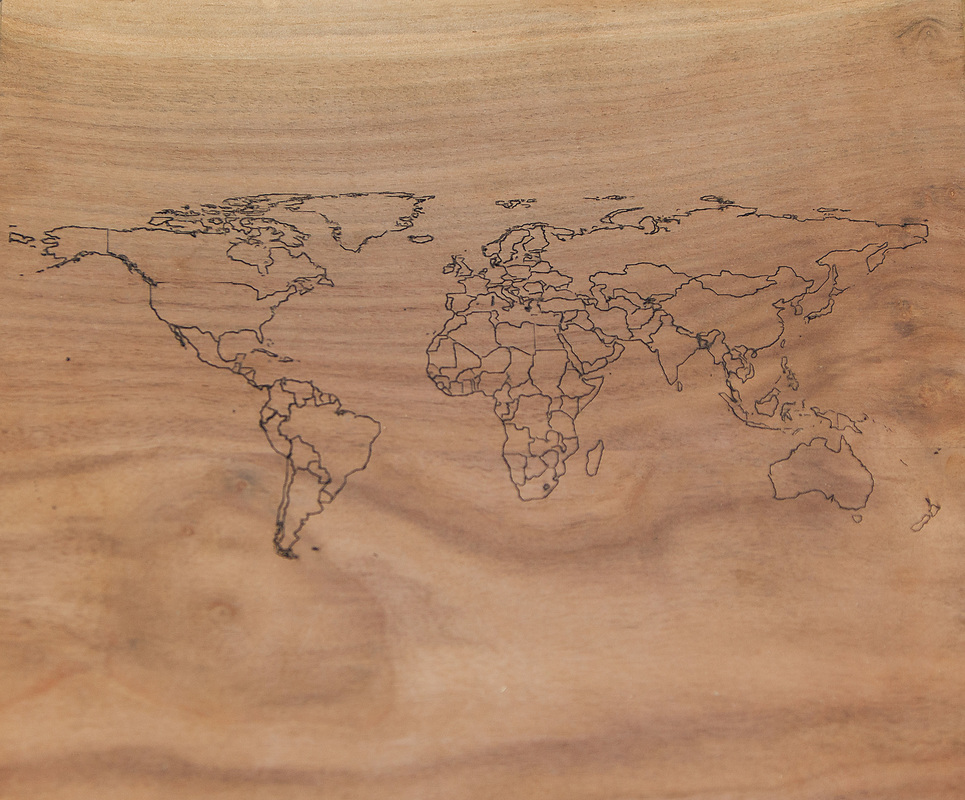
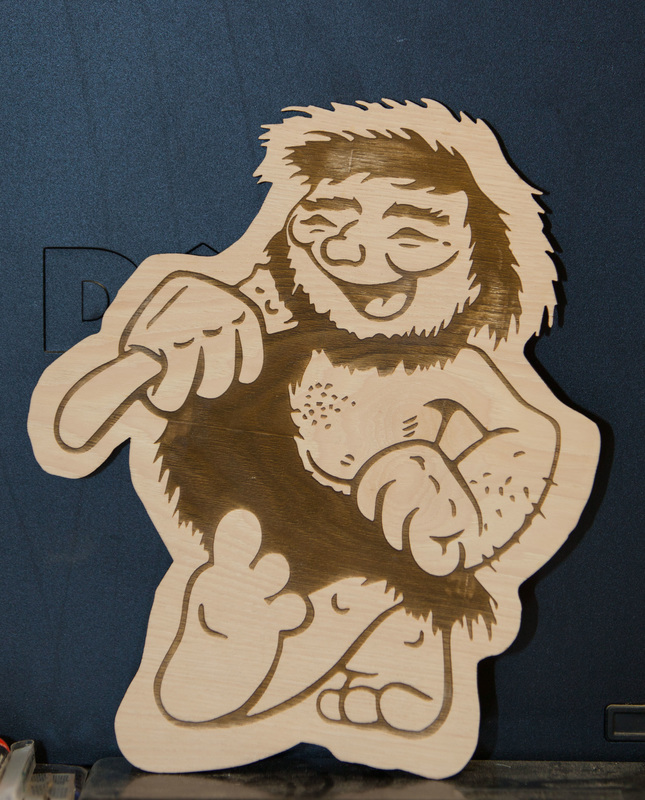
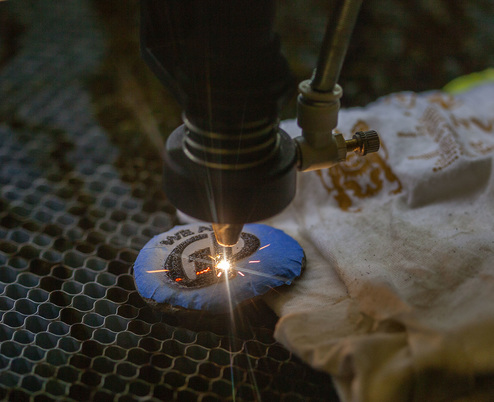
So many materials and designs, so little time.
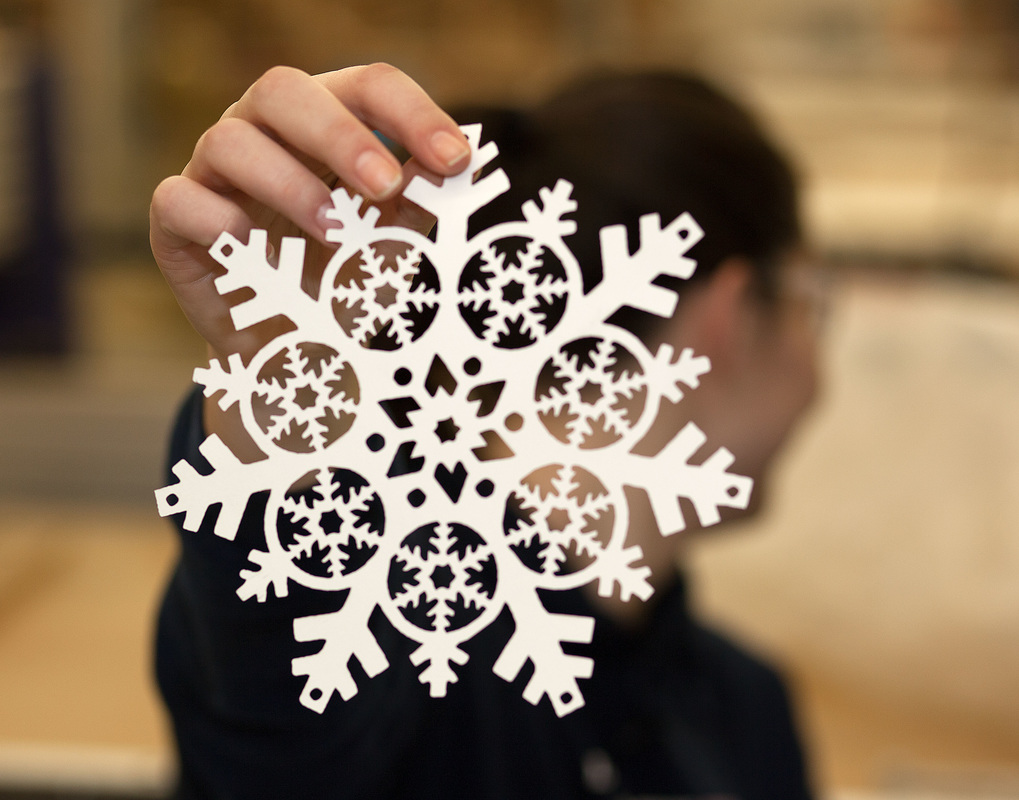
From Wood, to paper, acrylic to stone, leather and food. We haven't even etched the surface yet as to what we can work with. Can I etch / cut this stuff? Let's give it a shot! What an opportunity for students to design, create and possibly sell products. Customization of furniture that kids have built is firing up imagination across the campus!
|
|
|
|

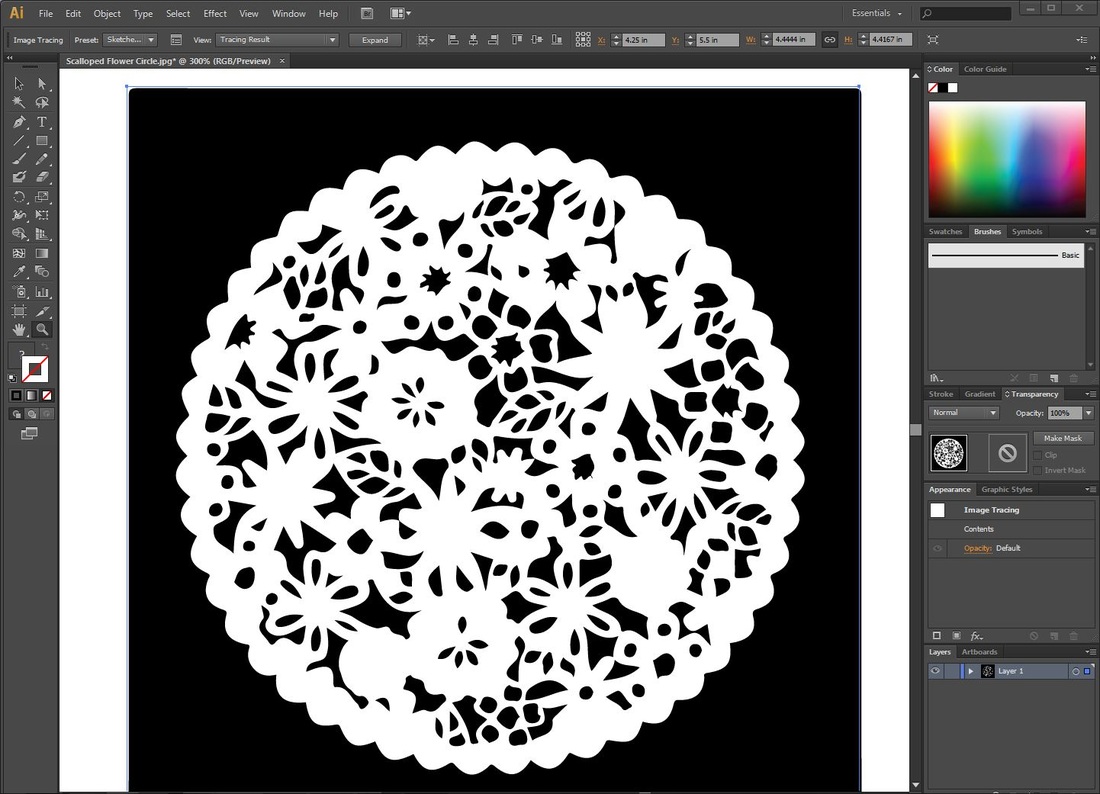
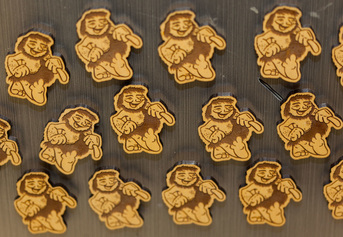
Here in our shop students use a combination of software in order to achieve a desired result. Most often this involves beginning with Adobe Photoshop in order to convert any color images to black and white and to remove any unwanted portions of an image. They also use this program to add an outline to an image to facilitate a "die cut" if the image is to be cut out and not just etched.
|
Once an image has been managed in Photoshop it may require the conversion to a vector image depending on the resolution of the jpeg. There are times when images are just too poor to be vectorized in Adobe Illustrator and it is back to the drawing board to find something more reasonable to use.
|
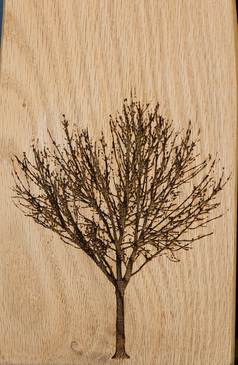
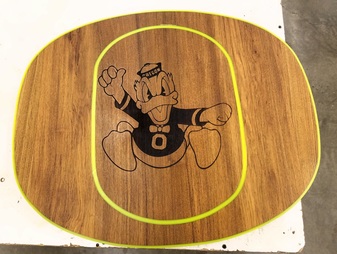
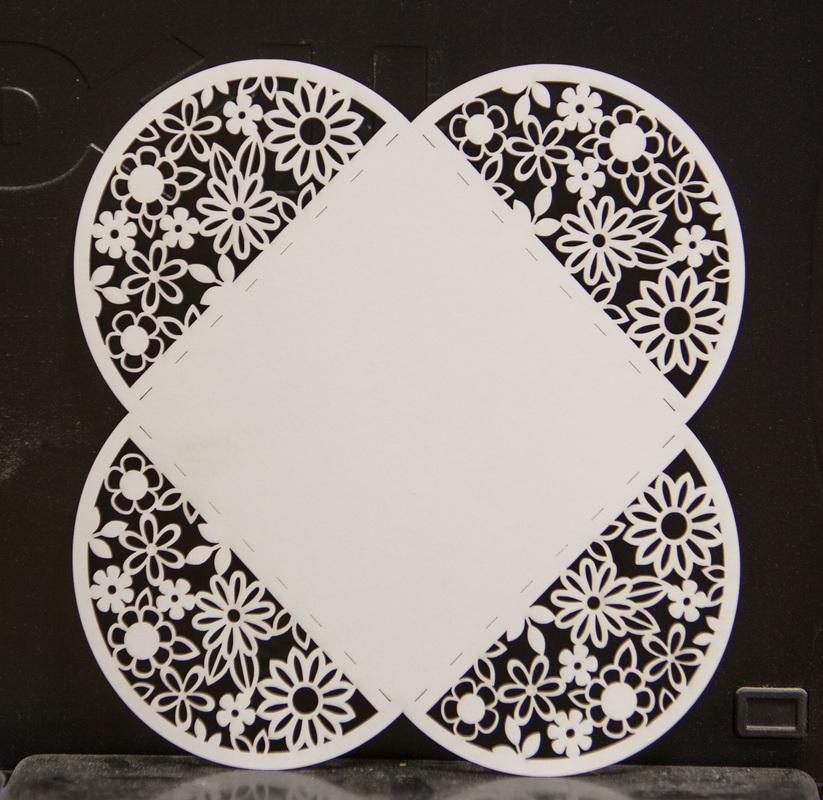
In the case of complex images or when a student is working on something that will be used in a piece of furniture we often run the file in the laser on a piece of scrap material which matches the material used in their project. This allows for the adjustments to be made to a job prior to use on an actual piece of furniture or cabinetry. Students may have many hours of effort in a piece and this reduces stress levels greatly.
|