How to get started using the Shopbot CNC Router
|
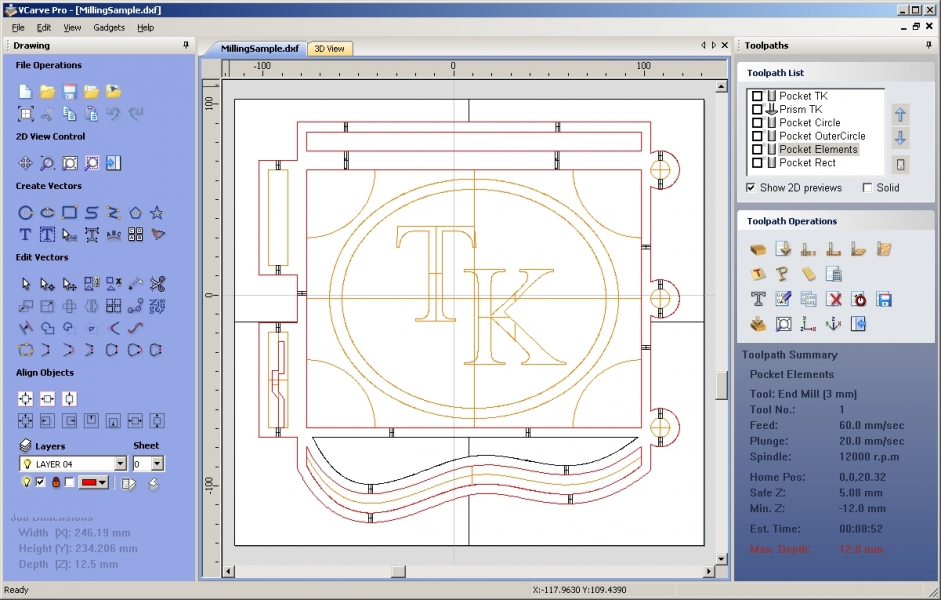
If you would like to get started using the new Shopbot CNC router, there are several things you need to do. First, take some time to view the video tutorials listed here. Let's start with the guide to the VCarve Pro interface. This will walk you through the control and design software for our machine. This next video covers importing a 2D design, adjusting the material size and position of the part in job. The third video covers setting up a new job, creating basic vector shapes, importing and positioning 2D clipart.
|
|
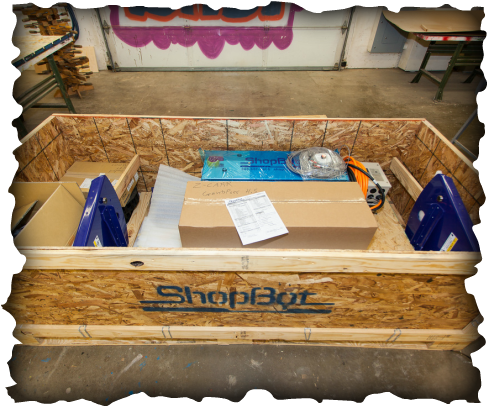
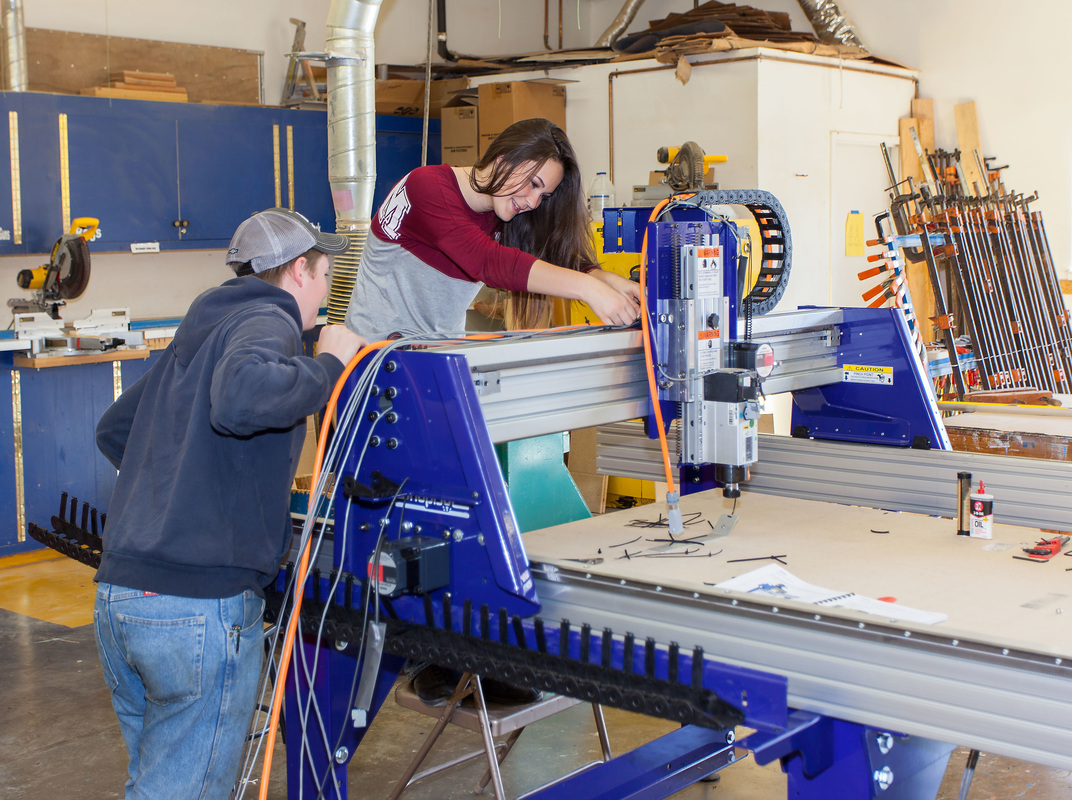
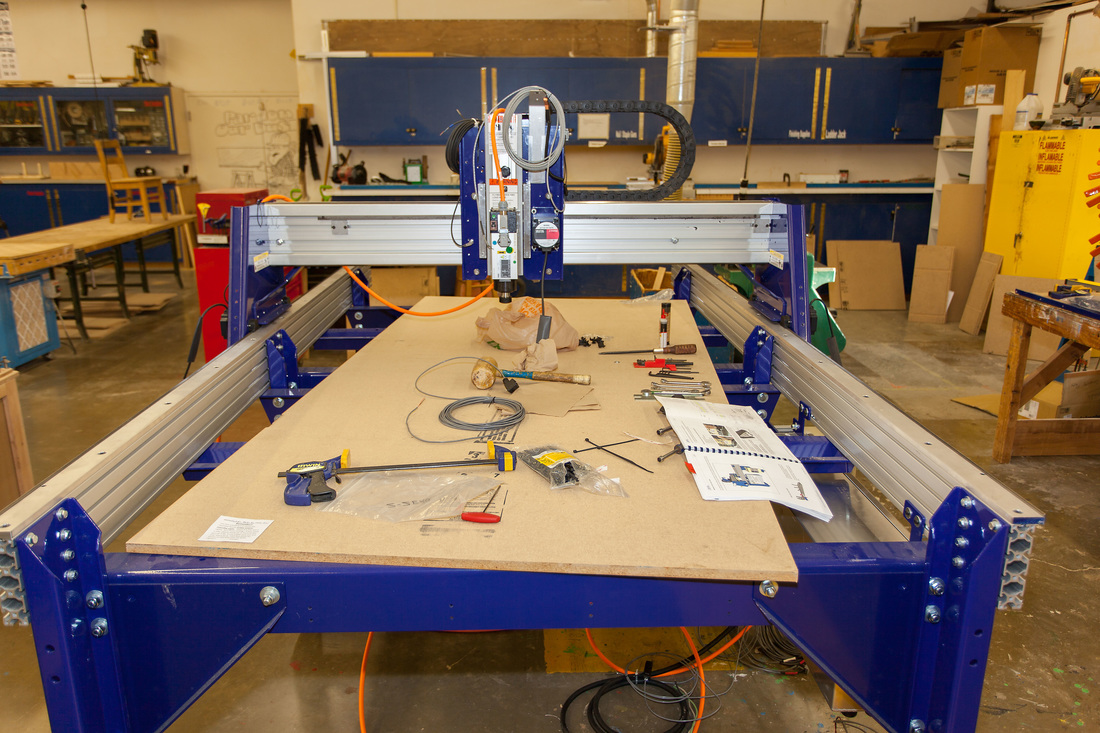
Our new Shopbot CNC router has finally arrived. After nearly six years of trying to get a machine such as this into the hands of our students we have prevailed! Several of our kids have spent a lot of time during and after school to get the CNC up and running and now it is their turn to begin using this fantastic piece of technology. Check out our blog to see what they are up to!
|
VCarve Pro
Take a few hours out of your life and learn how to create amazing projects with our new Shopbot CNC router. Here you can find tutorials that will familiarize you with our design and control software.
|
Shopbot Basics
Click below to learn the basics of our CNC. From chip loads to bit choice and understanding just how the machine functions, there is a lot to know and learn.
|
Student Projects
Take a look at some of the things that students have designed and created using our CNC.
|
|
One of the first video tutorials you may want to watch is the one linked below. It will provide you with an introduction to basic dimensional drawing and creation of parts in VCarve and Aspire. Visit this tutorial if you are trying to draw parts with specific dimensional requirements.
Vector creation and editing tutorial |
|
When learning to use the CNC, take the time to view the video tutorials listed under "VCarve Pro" and the "Learn More" button. Once you have gone through the tutorials you should begin your first project. The instructions below (01 coaster project instructions.pdf) will walk you through...step by step...creating and machining 3 small coasters.
| 6_by_10_wood_sign_tutorial.pdf | |
| File Size: | 4114 kb |
| File Type: | |
| 01_coaster_project_instructions.pdf | |
| File Size: | 9393 kb |
| File Type: | |
Once you have completed the Coaster Project you should move to the next project which is a 6 x 6 inch inlay. The instructions below assume a good working knowledge of the software. If you get stuck at all you may want to take a look at a video tutorial on You Tube.
| |||||||
Below is a tutorial to walk you through creating a 6 x 6 v-carved sign using HDPE.
| 6x6_wood_name_sign.pdf | |
| File Size: | 3711 kb |
| File Type: | |
| 6_x_10_hdpe_name_sign_instructions.pdf | |
| File Size: | 4139 kb |
| File Type: | |


