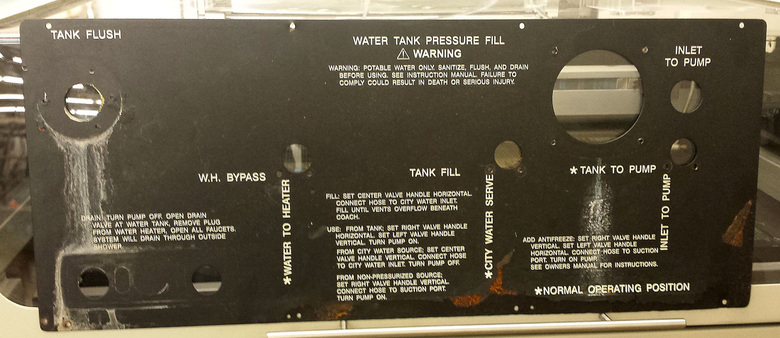
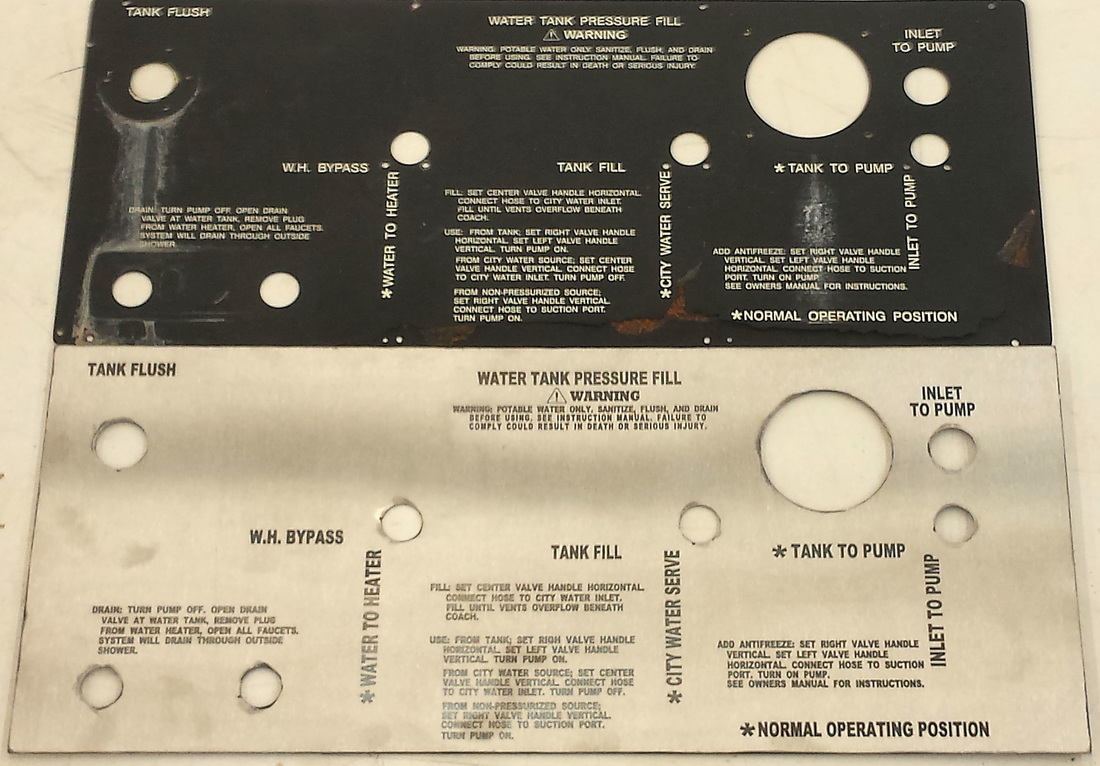
We had a staff member from the District Office that need to replace a control panel on what seemed to be an RV (thank you Trish!). It was fairly large and needed to be made out of stainless steel due to exposure conditions. The original was in pretty bad shape and we really didn't want to simply paint another one just like the one you see here. The paint was peeling up and it was beginning to rust out in a couple of places. The nice thing was that just next door to us is the premiere high school metal fab shop in the State of Oregon! The kids there used their CNC plasma torch to cut out a perfect copy of the panel in Stainless. Plate size, hole size and placement was critical to the success of the job and they did a fantastic job.
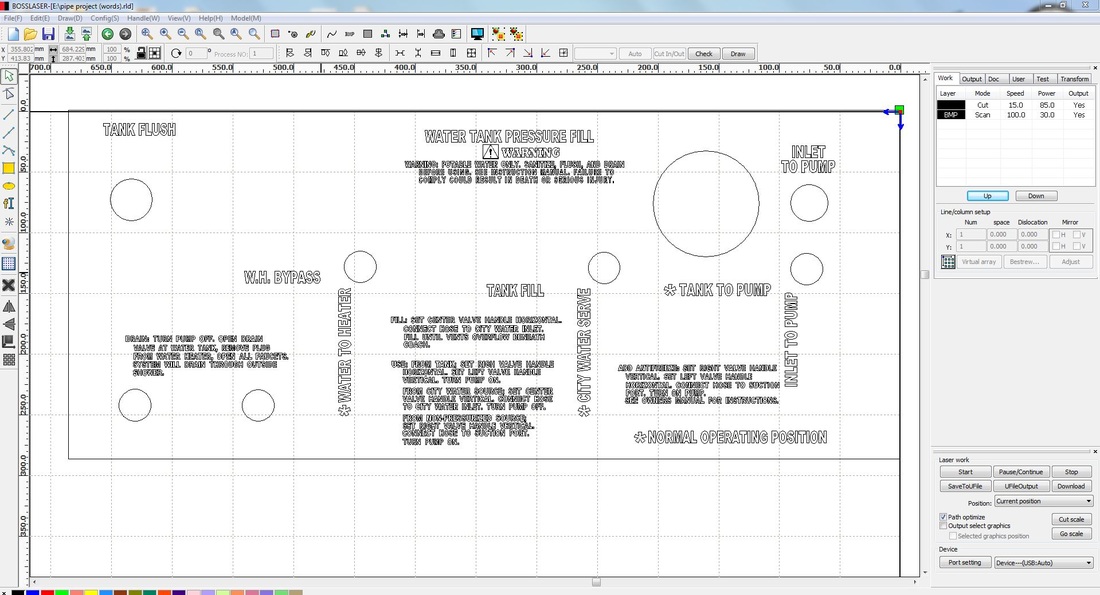
Once the panel itself was cut out on the CNC plasma torch, it was time for our resident RDWorks student expert to get started on the layout of the text and symbols. This was a serious undertaking which necessitated accurate placement of text along with the generation of appropriate symbols. She did an outstanding job in very little time which means that she will likely have plenty to do once the word gets out about what she is capable of.
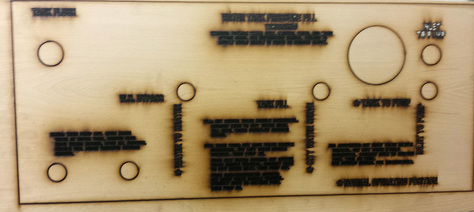
On work such as this we always try to run a test job to see just how things will work out. It's much less expensive to use some thin plywood that we have laying around to run a file and check for accuracy. We are very glad that it was done in this instance since it revealed that we had a serious issue with the x-axis dimensions that were produced on the laser. Y-axis dimensions were fine but we were off by over 50 mm in the x-axis and the holes were turning out elliptical. We needed absolute accuracy so it was time to give Boss Laser a call for help. Luckily, the company has some of the best support we have had the pleasure of experiencing. They scheduled a time that worked for us to let them take control of our machine remotely so that they could diagnose the issues we were having and within a half hour or so everything was running perfectly.
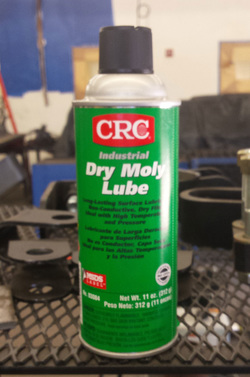
Now it was time to prepare the stainless steel for the etching process. CO2 lasers such as ours will not etch directly on to the metal so you have to coat the surface with something that will allow us to do so. Everything we had read told us that we had to spend upwards of $75.00 for a single spray can of Cermark or Thermark in order to etch metals. Well, we are a school so that was something that we did not want to spend the taxpayers money on to be completely honest. As educators (and especially "shop" teachers) we are always looking for ways to stretch a dollar. To say we are cheap is a pretty accurate statement. I tend to prefer the term "ingenious". Combing the forums on laser etching we came across an idea to try a dry molybdenum lube. So Jake over in the metals lab hopped on over to our local supplier and picked up a can of the stuff pictured here for around $13.00. Let's see if it works!?!
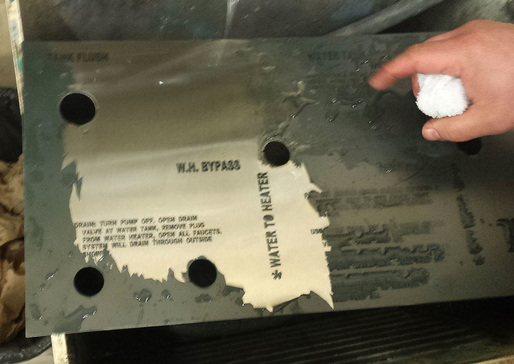
Hmmmm...it seems as though you DON'T ALWAYS have to buy an expensive product to get the results you want! Jake got it right and we ended up with a perfect solution to the problems we encountered (not enough money). A little water and #0000 steel wool takes the moly spray right off to reveal a perfect etch!
What you see here is the original and the final result of some very good work by our students. I could sit here and say that if it weren't for our teachers and staff it would never have worked out so well but if the truth is to be told it is our kids that make things like this happen. We are blessed to have some of the most capable and hard working students one could ask for. More often than not when issues arise with projects it is the youngsters that come up with something new to try or they offer a fix for our technology based equipment. All hail to our students!!!
 RSS Feed