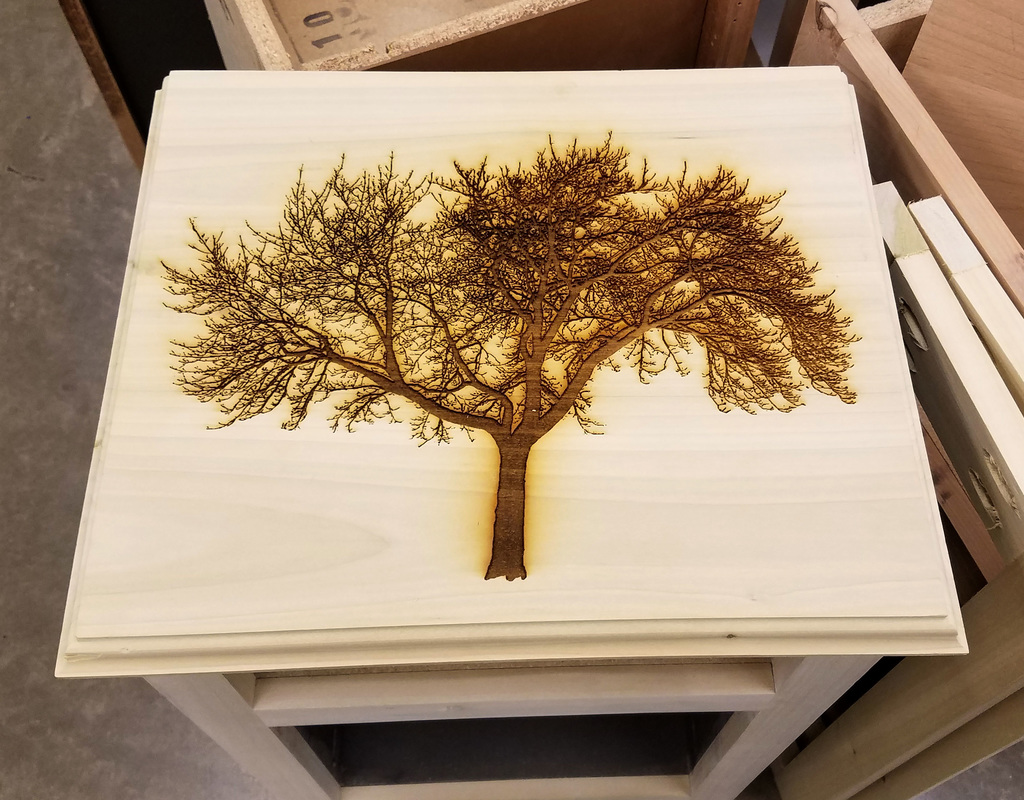
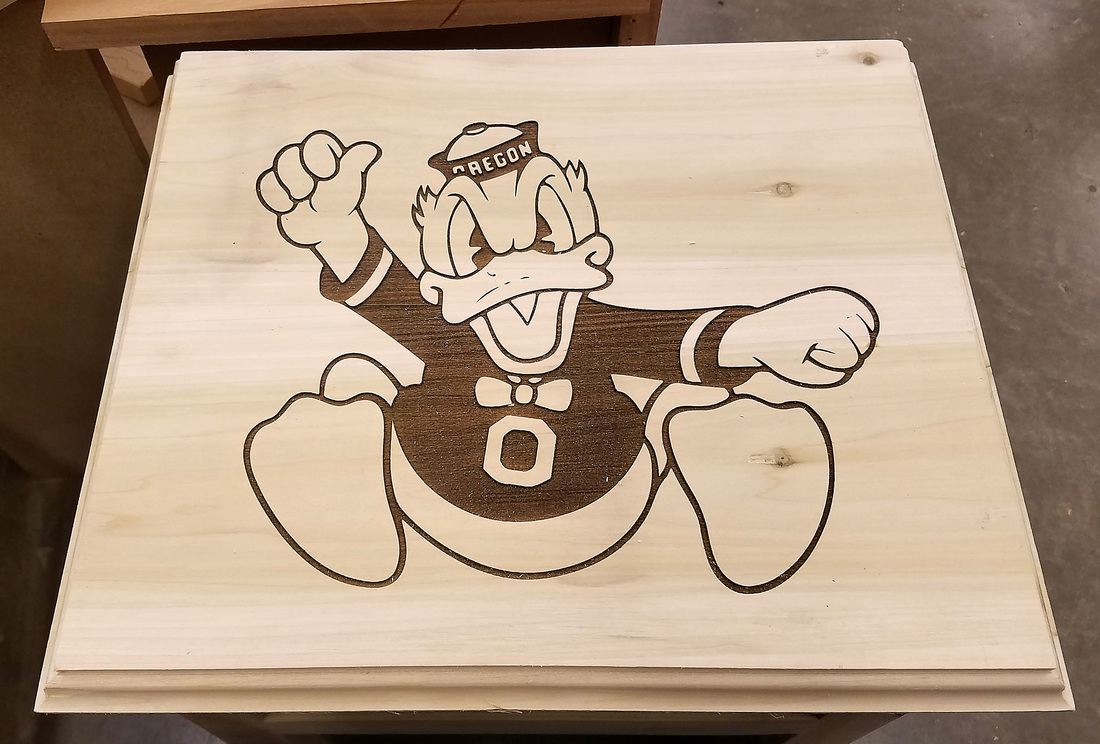
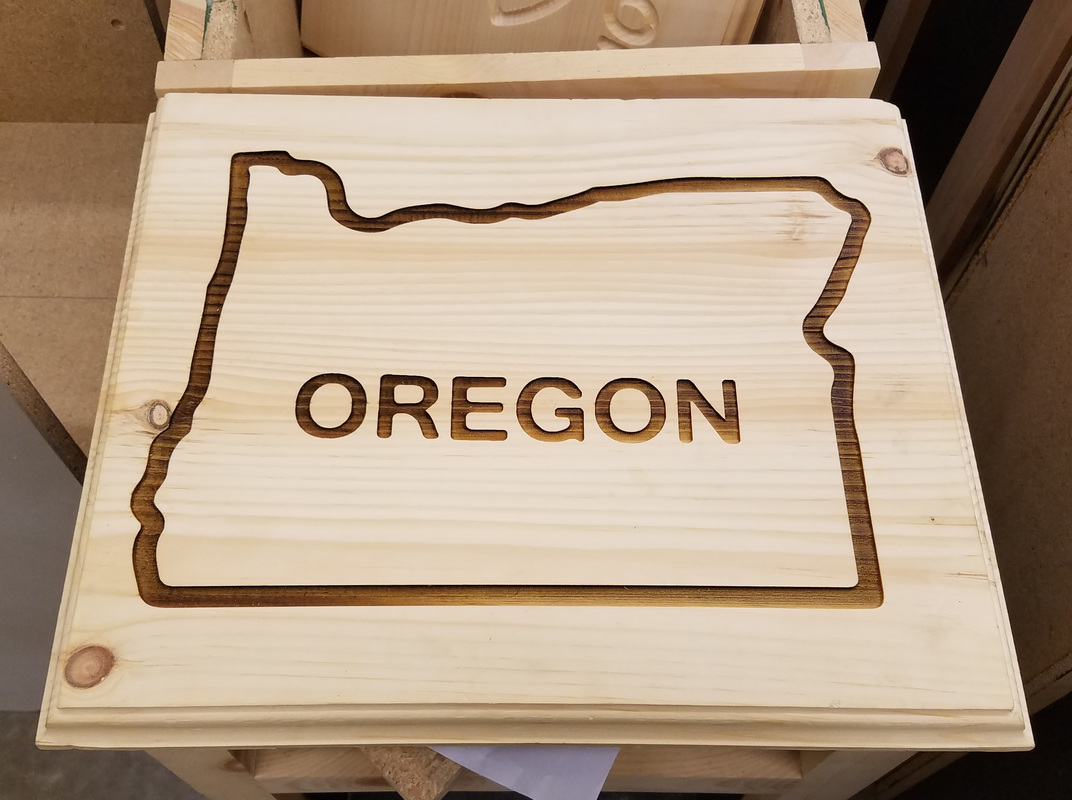
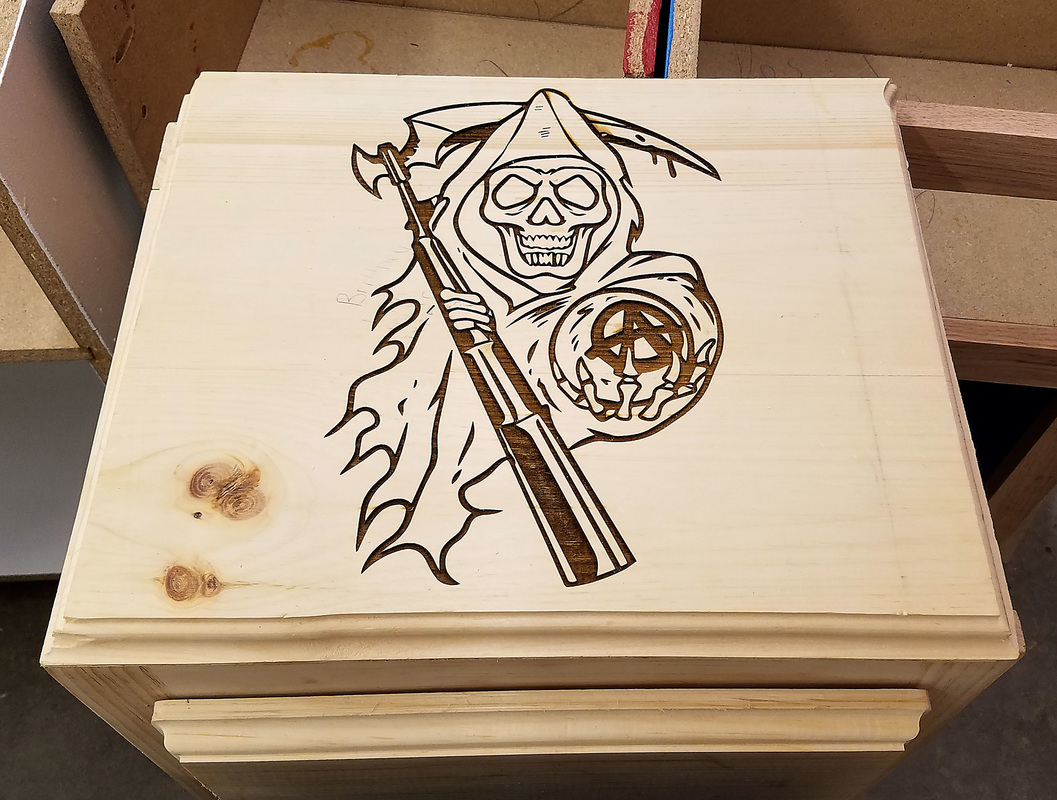
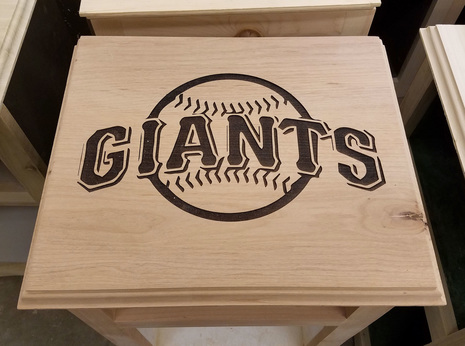
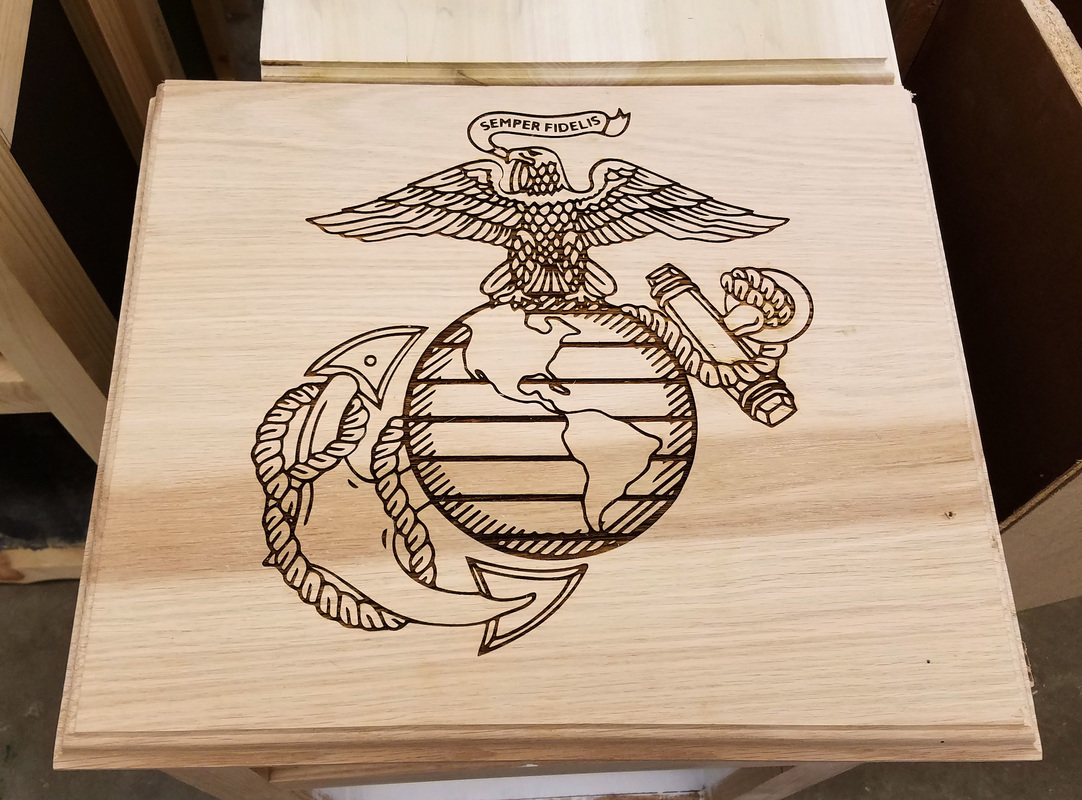
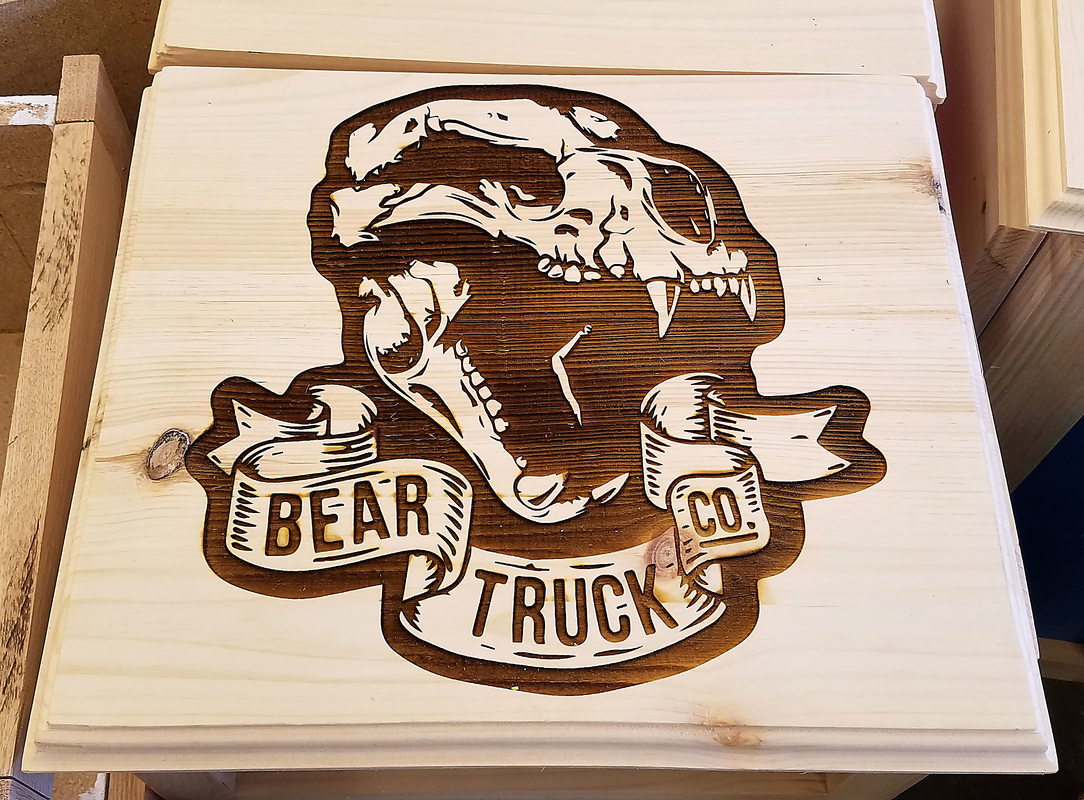
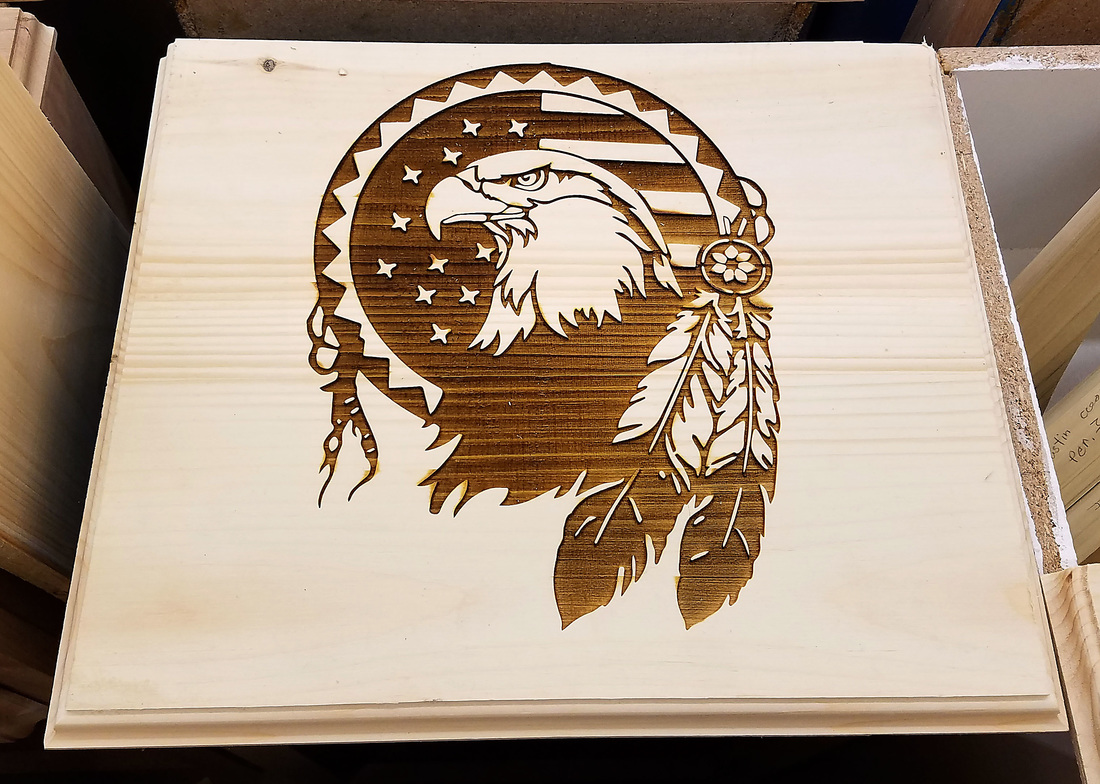
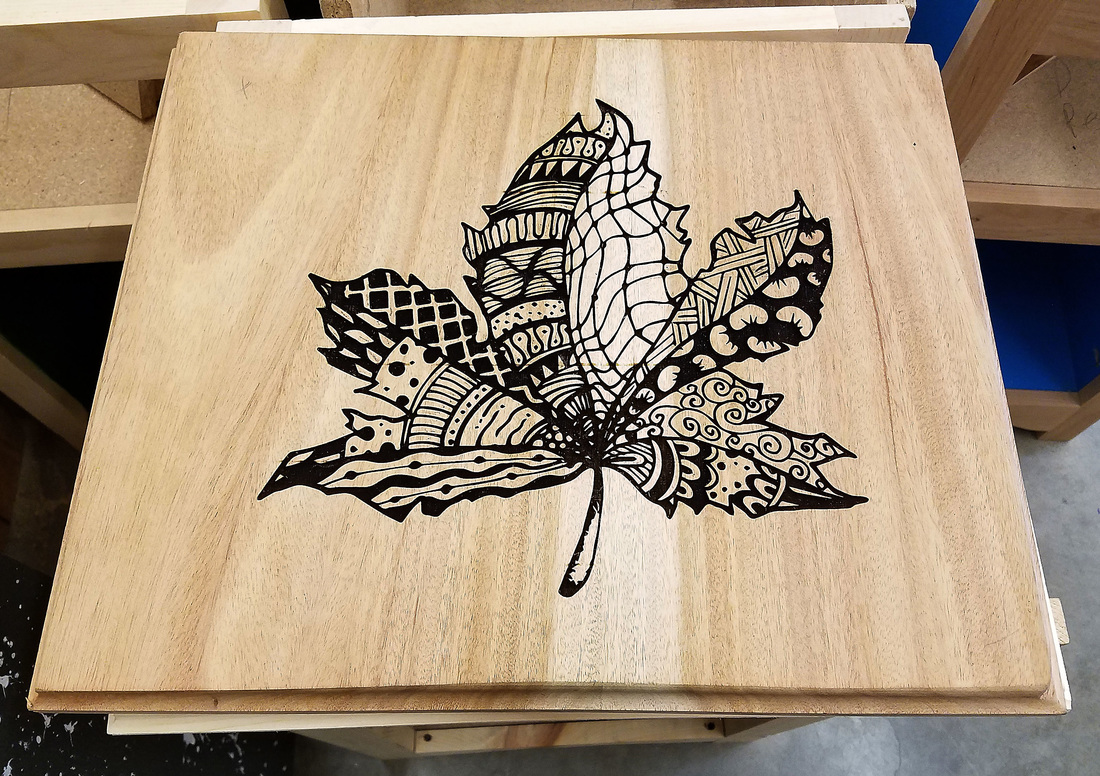
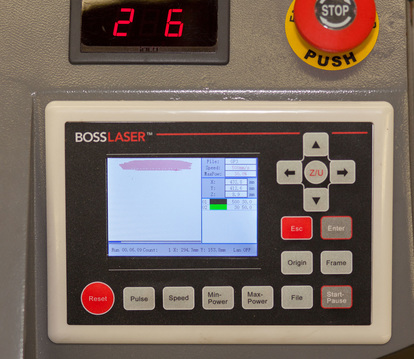
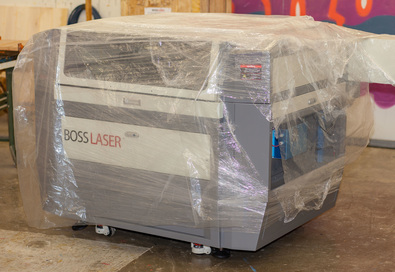
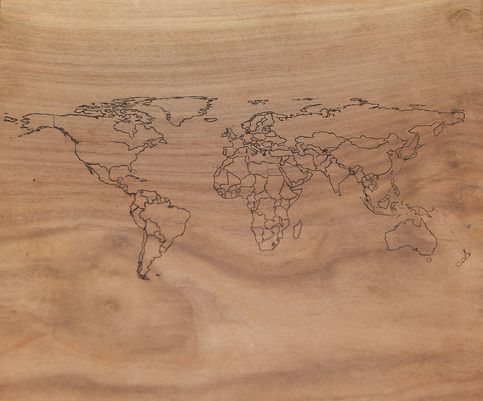
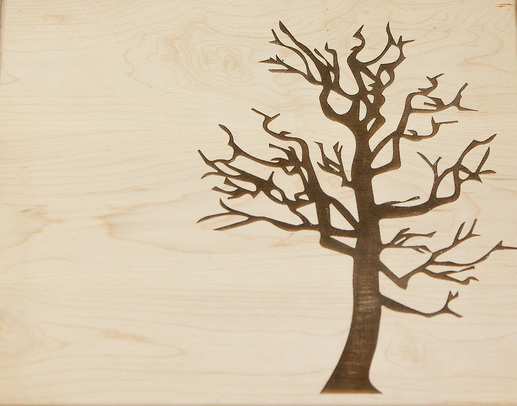
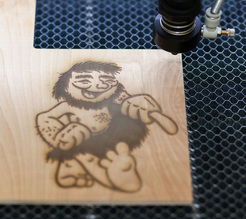
| Our Beginning Manufacturing students are really taking advantage of the Boss Laser this Semester. Our machine is barely 7 months old but it has been put through its paces. All Beginning students build a single drawer nightstand as their project and they have quite a few choices when it comes to making it their own. By far the most popular customization choice is the laser as it offers a very straightforward and gentle learning curve but produces stunning results. The only thing I can think of that would be nice to have is ANOTHER LASER! |
|
2 Comments
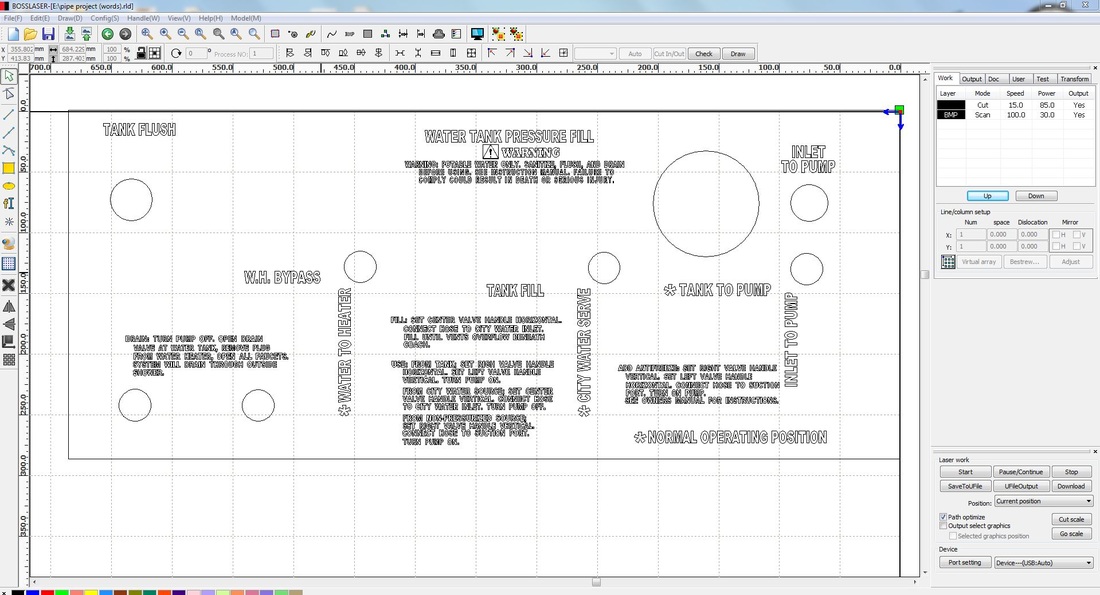
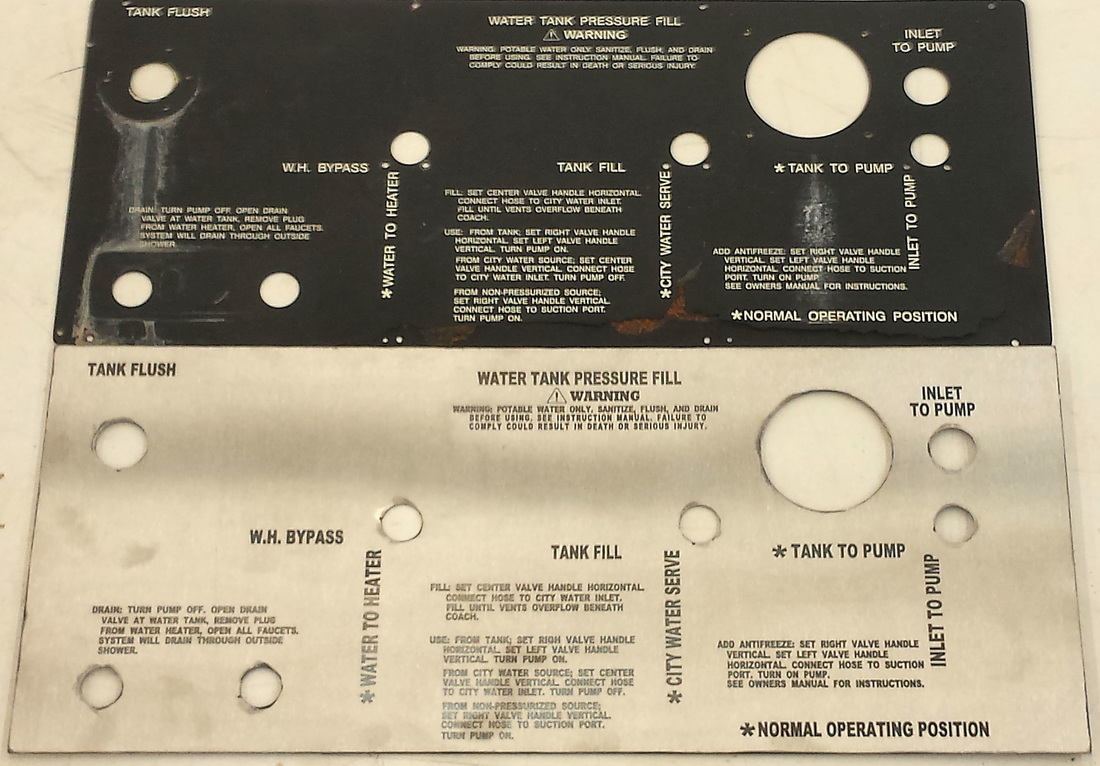
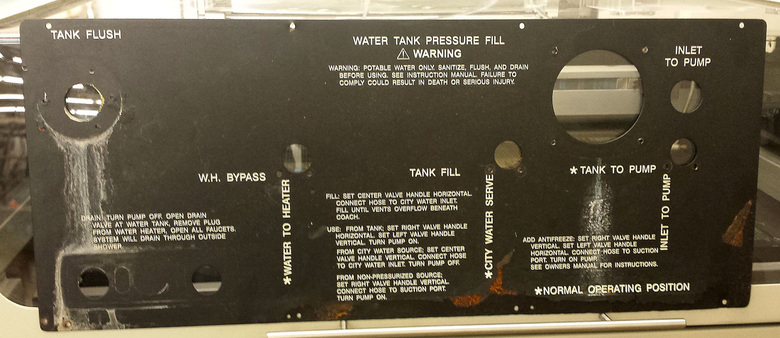 We had a staff member from the District Office that need to replace a control panel on what seemed to be an RV (thank you Trish!). It was fairly large and needed to be made out of stainless steel due to exposure conditions. The original was in pretty bad shape and we really didn't want to simply paint another one just like the one you see here. The paint was peeling up and it was beginning to rust out in a couple of places. The nice thing was that just next door to us is the premiere high school metal fab shop in the State of Oregon! The kids there used their CNC plasma torch to cut out a perfect copy of the panel in Stainless. Plate size, hole size and placement was critical to the success of the job and they did a fantastic job. Once the panel itself was cut out on the CNC plasma torch, it was time for our resident RDWorks student expert to get started on the layout of the text and symbols. This was a serious undertaking which necessitated accurate placement of text along with the generation of appropriate symbols. She did an outstanding job in very little time which means that she will likely have plenty to do once the word gets out about what she is capable of. 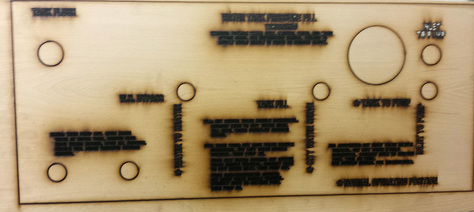 On work such as this we always try to run a test job to see just how things will work out. It's much less expensive to use some thin plywood that we have laying around to run a file and check for accuracy. We are very glad that it was done in this instance since it revealed that we had a serious issue with the x-axis dimensions that were produced on the laser. Y-axis dimensions were fine but we were off by over 50 mm in the x-axis and the holes were turning out elliptical. We needed absolute accuracy so it was time to give Boss Laser a call for help. Luckily, the company has some of the best support we have had the pleasure of experiencing. They scheduled a time that worked for us to let them take control of our machine remotely so that they could diagnose the issues we were having and within a half hour or so everything was running perfectly. 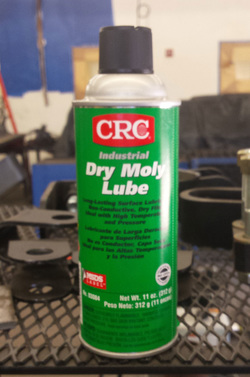 Now it was time to prepare the stainless steel for the etching process. CO2 lasers such as ours will not etch directly on to the metal so you have to coat the surface with something that will allow us to do so. Everything we had read told us that we had to spend upwards of $75.00 for a single spray can of Cermark or Thermark in order to etch metals. Well, we are a school so that was something that we did not want to spend the taxpayers money on to be completely honest. As educators (and especially "shop" teachers) we are always looking for ways to stretch a dollar. To say we are cheap is a pretty accurate statement. I tend to prefer the term "ingenious". Combing the forums on laser etching we came across an idea to try a dry molybdenum lube. So Jake over in the metals lab hopped on over to our local supplier and picked up a can of the stuff pictured here for around $13.00. Let's see if it works!?! 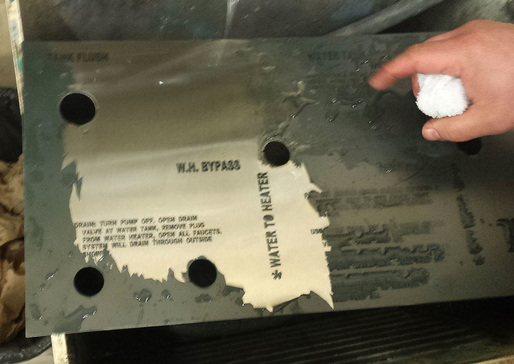 Hmmmm...it seems as though you DON'T ALWAYS have to buy an expensive product to get the results you want! Jake got it right and we ended up with a perfect solution to the problems we encountered (not enough money). A little water and #0000 steel wool takes the moly spray right off to reveal a perfect etch! What you see here is the original and the final result of some very good work by our students. I could sit here and say that if it weren't for our teachers and staff it would never have worked out so well but if the truth is to be told it is our kids that make things like this happen. We are blessed to have some of the most capable and hard working students one could ask for. More often than not when issues arise with projects it is the youngsters that come up with something new to try or they offer a fix for our technology based equipment. All hail to our students!!!
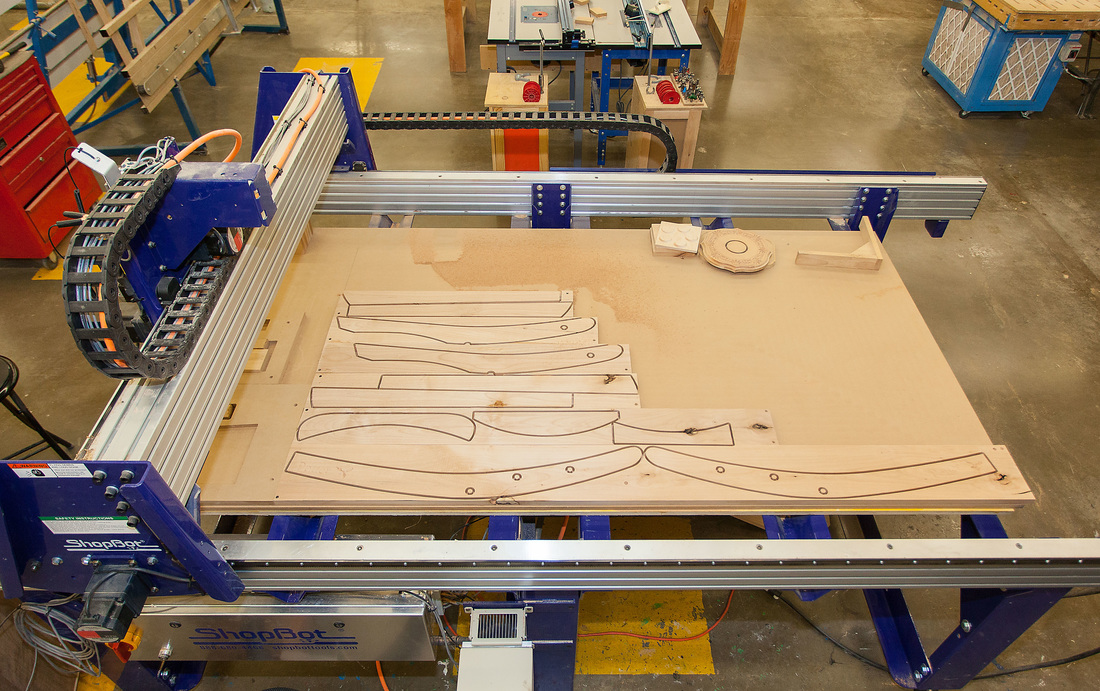
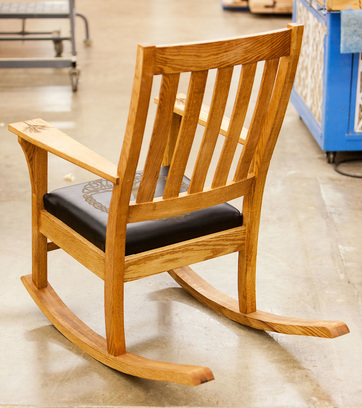
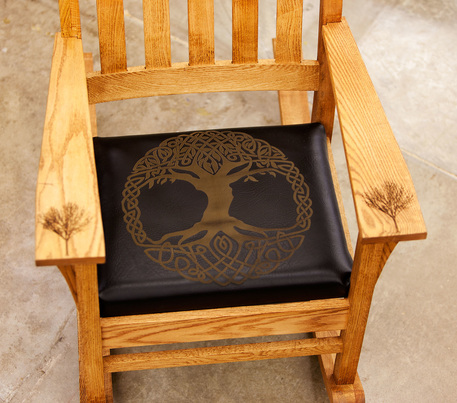
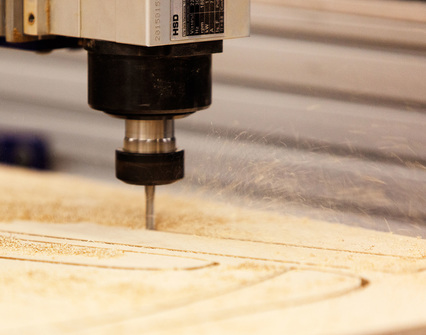
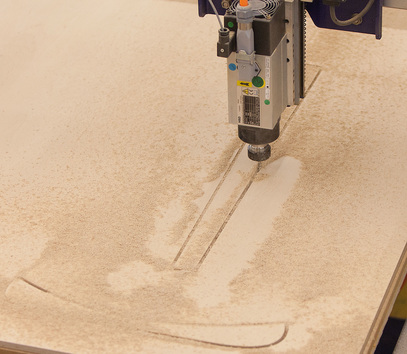
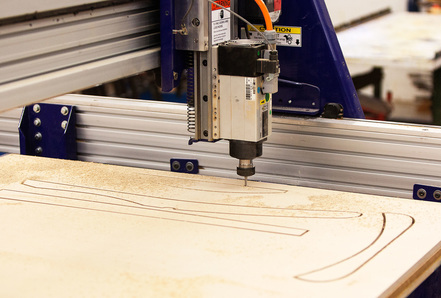
It's been a while since we have posted to our blog but things have been pretty busy around here. We are knee deep into the Spring semester and the shop is filling up with projects. One of the things that I was a little bit concerned about when we brought in the Shopbot CNC router is that students might have a tendency to use the machine as a bypass for learning traditional methods in woodworking. What I have found is that the Shopbot is teaching the kids things they would never have had the opportunity to experience. Critical thinking skills, complex math, precise measurements and detailed job planning are just a few of the things they are learning without them even realizing it. They have begun to learn how to lay out parts accurately and troubleshoot issues that come up. It is a very time consuming and mind numbing exercise the first time they attempt this but now they are up and running and we are putting a lot of hours on our new machine! 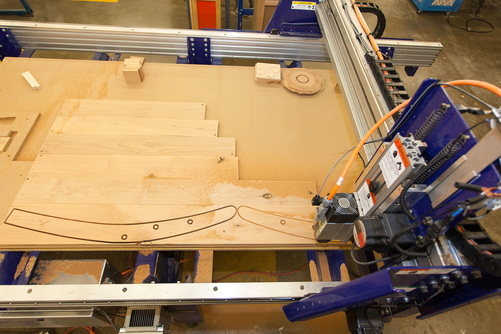 We still use our tried and true methods for prepping material just as we would without the CNC. The process of thicknessing, ripping to width and cutting to length accurately are even more critical now. Attention to detail is more important than ever. 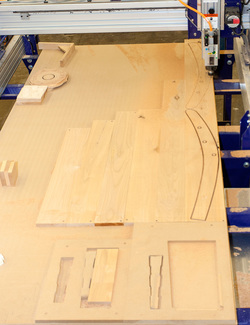 The really nice thing about having a full size bed on our machine is that we can have multiple projects set up for production at the same time. We have mounted two small jigs at one end that allow students to work on the first two required projects on the CNC. One is a set of coasters that are held in place in the jig with wedges. This project gets kids feet wet with pocket and profile cuts as well as simple v-carving. The second, larger jig is for their required inlay project. We have used the area to the left of these two jigs for working on solid body guitar machining and the larger open area is for working with solid stock and the adirondack furniture we seem to make so much of here. CO2 Laser work... 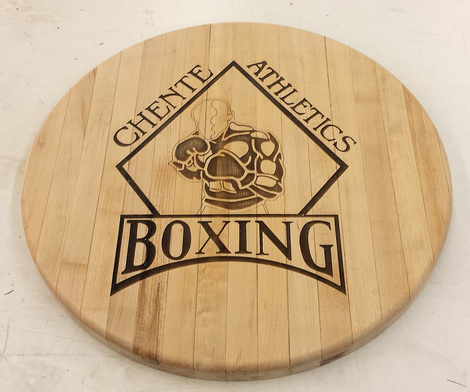 We have a staff member here at the school who runs a boxing club for kids and he asked if we could do a custom speed bag mount for him. Pretty straightforward so we took a scan of his club logo, tweaked it a little bit and ended up with what you see here. The speed bag will mount to the center of this board and it will be hung upside down ready for a workout. 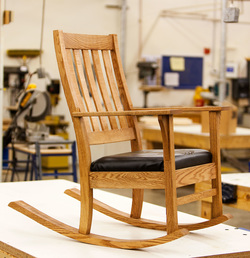 One of our students finally saw all of their hard work pay off in the form of a rocking chair (makes me want to keep teaching for a long time). Hard work and attention to detail created a piece of furniture that anybody would be proud to have in their home. This is made of red oak with laser etched arm details and leather seat material. Very proud of your work young Man! 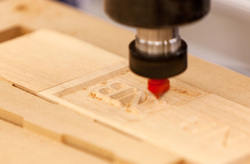 One of the things that we are working is getting the CNC curriculum developed for the program. Thanks to Randy Johnson and the folks at Shopbot, this is an easier task than it would have been. We are using several of the ideas and projects from the Summer course that Randy taught in Washington to get the kids up and running. 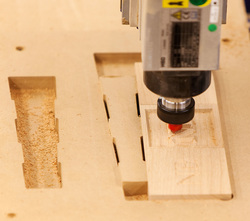 The first project that students actually produce on the machine is a series of three custom coasters. This teaches the kids about pocket and v-carve techniques as well as offsets, drawing and resizing shapes and aligning objects to a vector. 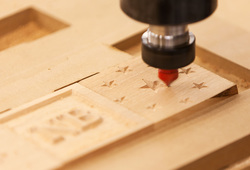 This is also an great opportunity for students to get hands on experience with operating the CNC itself. We work on changing bits, moving the gantry (learning x, y and z axes), zeroing the xy and z axes, affixing materials to the spoilboard (we learned a lot from our first failure in regards to this particular point) and simply getting comfortable with a machine that can be a bit intimidating at first. Next up is inlays on the CNC!!!
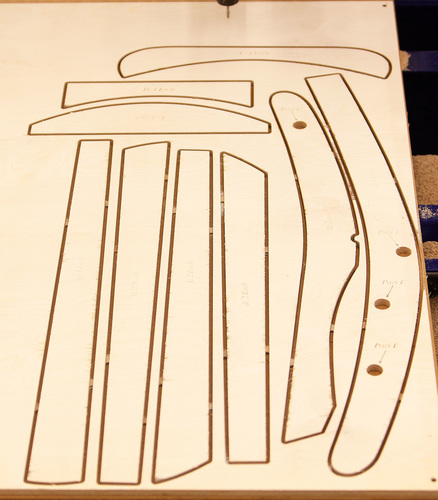
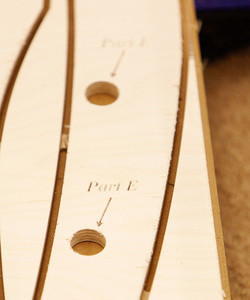
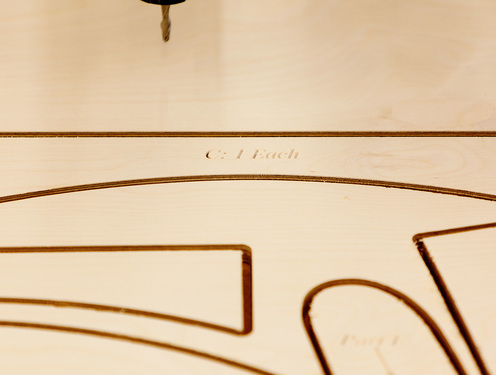
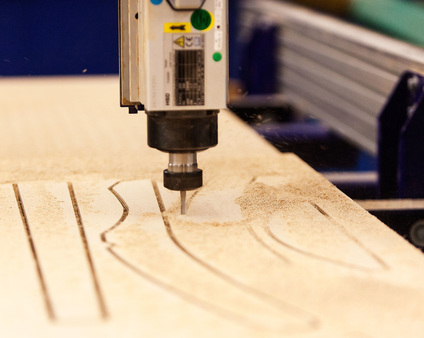
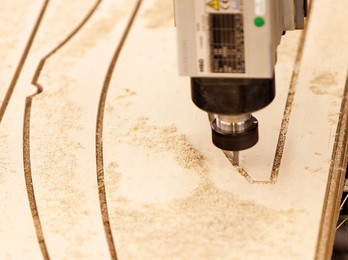
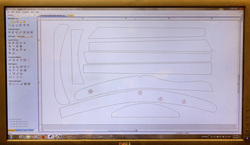 We have begun the new semester here and the first order of business has been to cut out some templates on the Shopbot CNC for a couple of very popular projects. In the past students have made a lot of Adirondack chairs but this semester we purchased some dxf files from Phil at The Barley Harvest to be used on the new machine. Our first job turned out very nice (it's a new design for us, a Beach Chair in the Adirondack style). The trick now is to set up the files so that students can machine individual parts from solid stock instead of a sheet of ply. 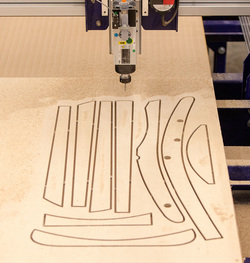 This is the finished product for the Beach Chair. All of the parts machined very well and if you look closely you can see the tabs that were inserted in order to keep the parts from shifting during machining. We can't wait to get one of these new chairs assembled and give it a nice long sit-down. 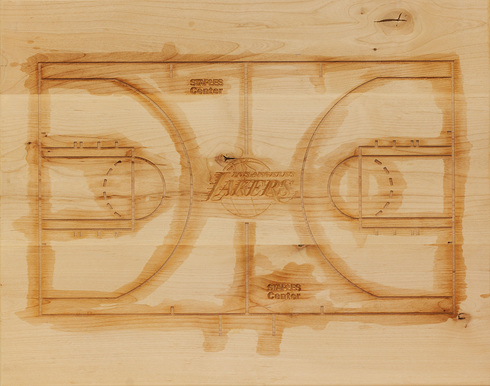 We have worked on our largest piece to date on the CNC and it just so happens that the student is a Lakers fan. The stuff that looks like a terrible stain job is actually wood conditioner that will allow him to slop paint in the lettering that will match the Lakers court exactly without the paint bleeding into the surrounding grain. This means that once painting is done all that has to be done is to sand the surface and voila! The perfect coffee table top! 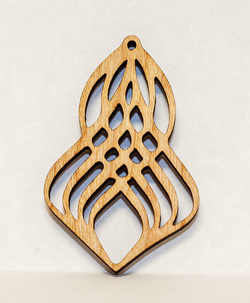 This is a design that was pulled from Pinterest and processed using Photoshop, Illustrator and Laser Works. 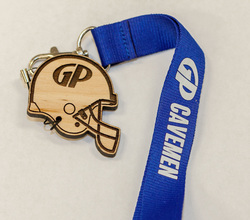 We have finally reached a point with our program where we feel that we have developed a few items that we can begin to sell to students and folks around town. Profits will directly benefit the kids and their CTE Manufacturing program at GPHS. This has been a goal of ours for quite some time and with the addition of the new CO2 laser and the Shopbot CNC it is now beginning to take shape. Among the challenges the students will face is learning just how much time and effort will be asked of them in order to make this not only work but work smoothly. Students will be required to calculate costs to produce individual items to come up with a profit margin that is acceptable, get a production schedule that works smoothly and efficiently, and work closely with other students, faculty and customers. 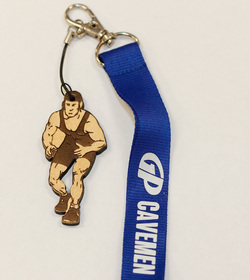 We hope to include other departments at the school such as Business, Video, Drafting and Photography. The goal is to have the drafting and design students working on new designs and specialty jobs while the Photography and Video kids work with us to develop a catalog and to promote our products. Business kids could really benefit from this as they could help to set up our accounting, inventory tracking and sales. We would like to get the Video Production students to produce a video or two that highlights the whole process.
|
AuthorAuthor work will vary within this blog. It may be the Teacher taking a moment to show off what the students have created but this is truly here for the students to express themselves! Archives
September 2017
Categories |
 RSS Feed